Deliver the WordPress Application on Kubernetes
In this tutorial we will walk through how to deploy a WordPress application on Kubernetes with Kusion. The WordPress application will interact with MySQL, which is declared as a database accessory in the config codes and will be automatically created and managed by Kusion.
Prerequisites
Before we start to play with this example, we need to have the Kusion CLI installed and run a Kubernetes cluster. Here are some helpful documentations:
- Install Kusion CLI
- Install kubectl CLI and run a Kubernetes cluster. Some light and convenient options for local deployment include k3s, k3d, and MiniKube.
Init Project
We can start by initializing this tutorial project with online templates:
kusion init --online
All init templates are listed as follows:
➜  kusion_playground kusion init --online
? Please choose a template:  [Use arrows to move, type to filter]
  code-city                  Code City metaphor for visualizing Go source code in 3D.
  deployment-multi-stack     A minimal kusion project of multiple stacks
  deployment-single-stack    A minimal kusion project of single stack
> wordpress                  A sample wordpress project
  wordpress-cloud-rds        A sample wordpress project with cloud rds
Please select wordpress and press Enter, after which we will see the hints below and use the default value to config this project and stack.

The directory structure looks like the following:
cd wordpress && tree
➜  kusion_playground cd wordpress && tree
.
├── dev
│   ├── kcl.mod
│   ├── kcl.mod.lock
│   ├── main.k
│   └── stack.yaml
└── project.yaml

1 directory, 5 files
➜  wordpress
More details about the directory structure can be found in Concepts.
Review Config Files
Now let's have a glance at the configuration files at dev/main.k:
import catalog.models.schema.v1 as ac
import catalog.models.schema.v1.trait as t
import catalog.models.schema.v1.workload as wl
import catalog.models.schema.v1.workload.container as c
import catalog.models.schema.v1.workload.container.probe as p
import catalog.models.schema.v1.workload.secret as sec
import catalog.models.schema.v1.workload.network as n
import catalog.models.schema.v1.monitoring as m
import catalog.models.schema.v1.accessories.database as db

# main.k declares reusable configurations for dev stacks.
wordpress: ac.AppConfiguration {
    workload: wl.Service {
        containers: {
            wordpress: c.Container {
                image = "wordpress:6.3"
                env: {
                    "WORDPRESS_DB_HOST": "$(KUSION_DB_HOST)"
                    "WORDPRESS_DB_USER": "$(KUSION_DB_USERNAME)"
                    "WORDPRESS_DB_PASSWORD": "$(KUSION_DB_PASSWORD)"
                    "WORDPRESS_DB_NAME": "mysql"
                }
                resources: {
                    "cpu": "500m"
                    "memory": "512Mi"
                }
            }
        }
        replicas: 1
        ports: [
            n.Port {
                port: 80
            }
        ]
    }
    database: db.Database {
        type: "local"
        engine: "mysql"
        version: "8.0"
    }
}
The configuration file main.k includes an AppConfiguration with the name of wordpress. The wordpress application includes a wordload of type wl.Service, which runs on 1 replica and exposes 80 to be accessed. Besides, it declares a local db.Database accessory with the engine of mysql:8.0 for the application. The necessary Kubernetes resources for deploying and using the local database will be generated, and users can get the host address, username and paasword through the magic variables for sensitive database information of Kusion in application containers.
This model hides the major complexity of Kubernetes resources such as Namespace, Deployment and Service, which providing the concepts that are application-centric and infrastructure-agnostic.
More details about the Models can be found in Catalog
Delivery
cd dev && kusion apply --watch
Go to the dev folder and we will deliver the WordPress application into the Kubernetes cluster with one command kusion apply --watch.

Check Deployment status.
kubectl -n wordpress get deployment
The expected output is shown as follows:
➜  dev kubectl -n wordpress get deploy
NAME                            READY   UP-TO-DATE   AVAILABLE   AGE
wordpress-dev-wordpress         1/1     1            1           2m23s
wordpress-db-local-deployment   1/1     1            1           2m23s
Port-forward our WordPress with the Service.
kubectl port-forward -n wordpress service/wordpress-dev-wordpress-private 12345:80
➜  dev kubectl port-forward -n wordpress service/wordpress-dev-wordpress-private 12345:80
Forwarding from 127.0.0.1:12345 -> 80
Forwarding from [::1]:12345 -> 80
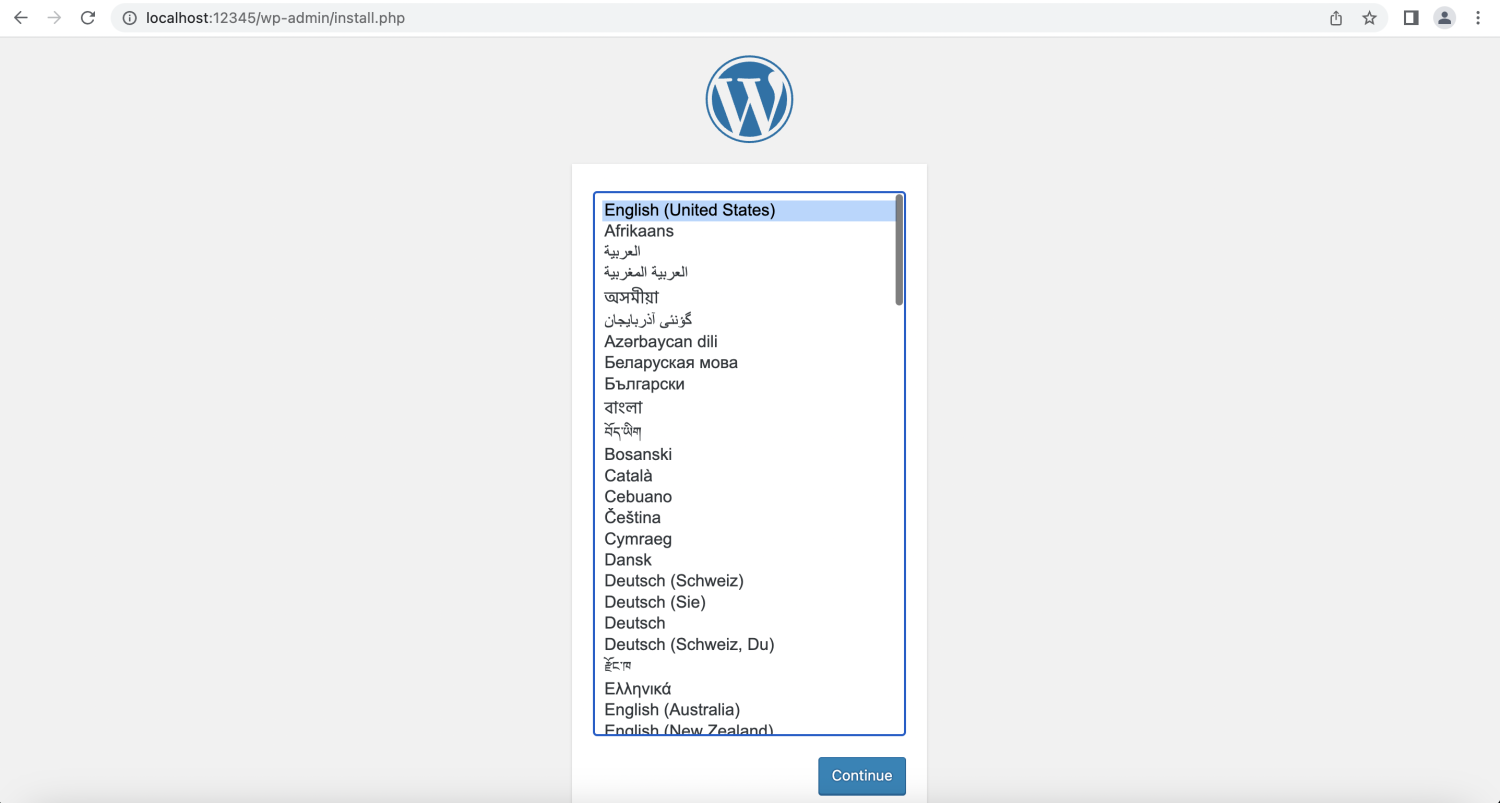
Now we can visit http://localhost:12345 in our browser and enjoy!

Delete WordPress Application
We can delete the WordPress application and related database resources using the following command line:
kusion destroy --yes
